
How to Rebuild Brake Calipers
The upcoming section serves as a general instruction for rebuilding aftermarket brake calipers and is intended solely as a reference, acknowledging that the specifics may vary depending on your model of car and brake system; it is strongly advised by brake shops that caliper rebuilding should be entrusted to a professional workshop.
Instructions:
- Remove brake pads.
- Disconnect brake lines and unbolt calipers from vehicle.
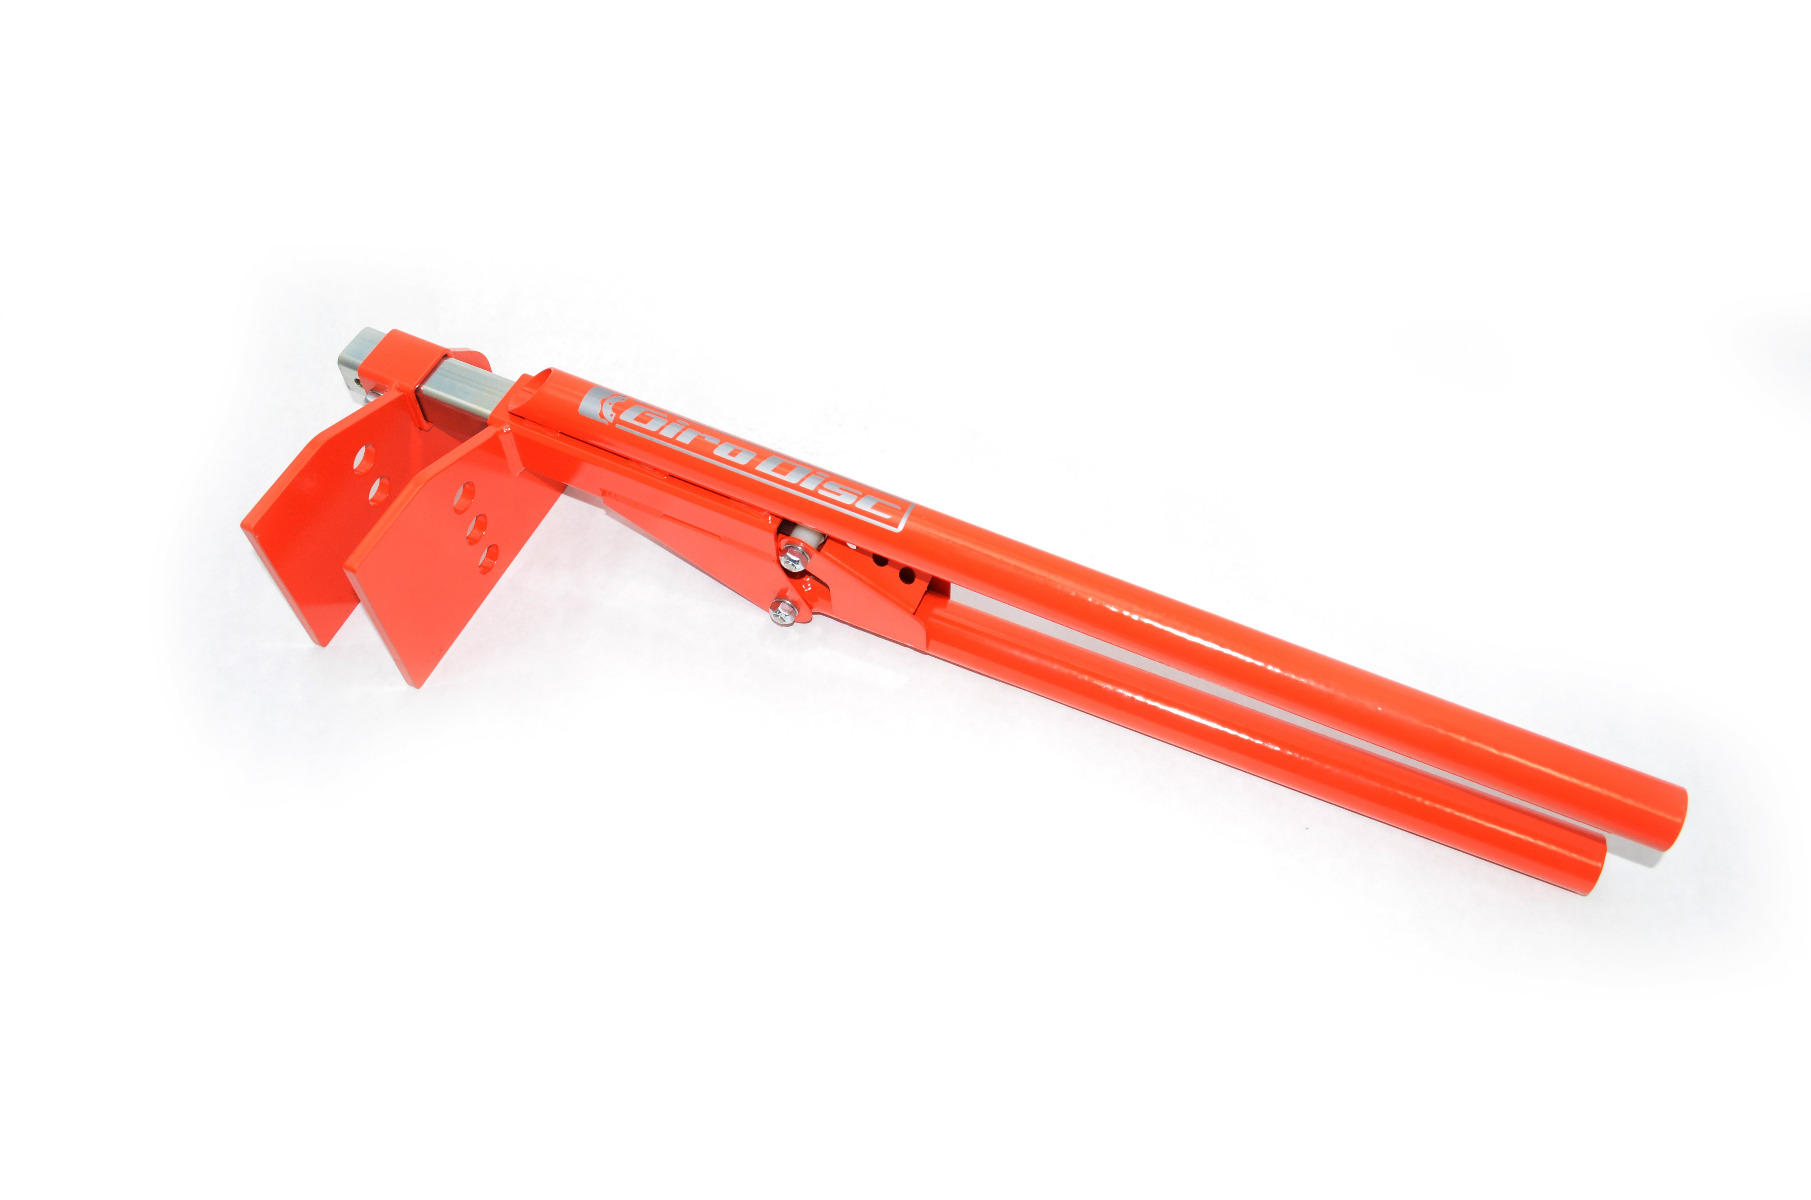
- Drain fluid from calipers. Remove brake line fittings from the calipers. With the brake line inlet port held over a container to catch fluid, press the pistons until they are retracted fully. A race caliper spreader tool, like the GiroDisc unit shown below, can make short work of this by compressing all pistons simultaneously.
Clean calipers so brake fluid doesn't damage finish. Plug the caliper inlet with a rubber stopper or bolt and wash the caliper with gentle car wash soap and water. Dry with a soft microfiber towel and/or compressed air..
Do not use strong solvents, such as mineral spirits or “Brake Cleaner." These can damage painted, powder coated, or anodized finishes. Treat the finish on your calipers the same as you would treat the paint on your car.
- Extend pistons. Place a piece of wood or a brake pad into the caliper to prevent any individual piston from ejecting completely. Use an air gun with a rubber tip to apply a jet of compressed air to the inlet until all pistons have extended far enough to be pulled out by hand. Once any individual piston pops out, any additional compressed air is going to flow from that opening and the remaining pistons won't move. Keep fingers clear, as a piston may eject suddenly and with force. Use eye protection, in case brake fluid sprays when compressed air is used.
- Remove each piston carefully from its bore by hand, keeping it parallel to the bore until free, so that neither piston nor bore is scratched. Any scratch or dent on the sides of the piston will render it unserviceable, and it must be replaced. Otherwise brake fluid will leak past the pressure seal when the piston flaw passes in front of it.
- Remove dust boots by grasping the flexible portion with thumb and forefinger of both hands, applying tension as evenly and over as wide an area as possible. If that doesn't work, a small flat blade screwdriver may be used to pry them out carefully.
- Remove pressure seals, taking care not to damage the piston bore or seal groove in the caliper body. A thin, flat spatula, a 90-degree bent stylus, or a mechanic's pick works well.
- Clean pistons, bores and seal grooves and inspect for scratches, dents, corrosion or other damage.
- Install new pressure seals. Inspect each seal to ensure it is clean. Coat with brake assembly lube. Insert by hand into the seal groove for its piston bore, making sure the correct size seal is used for each. Check carefully to make sure it wasn't twisted by running your bare finger across the surface. If it is twisted, remove and reinstall.
- Install dust boots onto each piston, prior to installing the piston in the caliper. Make sure you do not get any lube on the dust boots.
- Install pistons. Lightly coat the bottom and sides of each piston with Brake Assembly Lube. Again, do not get any on the dust boots or else they will not stay pressed in place. Slide the pistons halfway into the bores. Rock or rotate, if necessary, to ensure they are inserted straight, so as not to damage the piston or seal.
Apply even pressure to slide each piston further into the bore. The pistons should go all the way to the bottom of the bore with hand force. If this is not possible, immediately stop, remove the piston and inspect the seal to see why it is getting hung up.
- Press dust boots into place carefully, ensuring the outer metal ring, molded into the boot, is installed nearly level with the flat area surrounding it. If the boot is pressed unevenly, it is possible to damage the silicone or rubber material inside the metal ring. It may not be possible to push the boots in place with your fingers, in which case a curved piece of wood, plastic or metal may be used. Do not let brake fluid come in contact with the boots, as this will soften them and make them easy to tear.
- Reinstall caliper on the vehicle, using new crush washers for the banjo fitting (if applicable) at the caliper brake line inlet. Reinstall pads.
- Bleed brakes with fresh fluid and fill the master cylinder reservoir.
Test brake system for leaks. Apply pressure to the brake pedal for several minutes, inspecting each caliper for any sign of leakage.
![]()
Login and Registration Form